If you follow me on Instagram, you may have noticed a number of stories and posts about baking bread these past few months. Way back in September, Tina checked out Flour Water Salt Yeast from the Multnomah County library with the intention of learning more about bread making. We had recently finished binge watching an entire season of the Great British Bake Off, so thoughts of warm, homemade baked goods was on her mind.
However, the arrival of the book coincided perfectly with my schedule opening up thanks to my contract job ending abruptly. Nothing like having an extra 35 hours of free time in your week to make you consider exploring a new hobby.
At first, I merely flipped through the book and enjoyed daydreaming about baking real bread. Not a bread where you merely mixed ingredients together in a certain order, but a bread where you crafted it with your own two hands from the simplest building blocks using basic principles. A purer, more intellectual way of creating food, where you understood so much more. The Romantic Notion of the Artisanal Baker delusion, as I like to think of it now.
My initial foray was tame. At the back of the book is an entire chapter on homemade pizza. Now, you may not be aware of this, but I once had the metabolism of a young male in his prime. Pizza is one of my very favorite foods. Bread, tomato sauce, cheeses, veggies. As they say in the Instagram biz, "#omnomnomnom"
So, the very first recipe in the book is "The Saturday White Bread," which is a perfect foundation for making both pizza and bread. It is a rather simple recipe too. Combine the four ingredients of flour, water, salt, and yeast in the correct proportions. Wait about five hours for the yeast to work their fermentation magic, and then build your pizza.
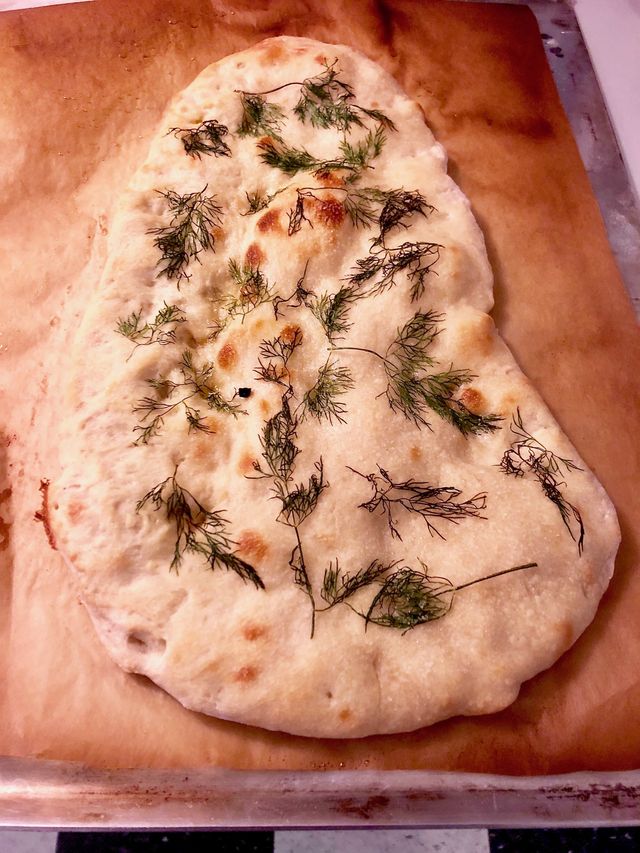
And, holy hand grenade, that pizza was scrumptious! Later that week, at a Great British Baking Show party, I used the remaining dough to make an olive oil and dill focaccia with sea salt sprinkled on top. Hot damn, another tasty success! Buoyed by two successes, we renewed the book and I decided to try my hand at the bread itself.
It's funny to me now how unsophisticated my equipment and skills were at this point months ago. I was using a brewing thermometer to measure my water temperature. This thermometer was both slow to change and had a narrow temperature range, so my water temps were more guesses than precise measurements. Our old measuring scale had an LCD screen that only partially showed its first digit and also had a habit of randomly bouncing 3-5 grams at a time. My proofing baskets were initially metal bowls with flour tossed in.
And yet, it all worked out fine. My first real loaf turned out great and was my first introduction to "shaping" and "proofing." Two terms that I vaguely recall emanating from Amelia's mouth at one time or another, but I had never really had conceptualized what they entailed.
Next came the Overnight White Bread. Waiting an entire night for your dough to ferment! How novel! Waking up to the lovely smell of percolating dough just waiting to be shaped and baked is quite a treat.
Ah, but then I tried to make a 75% Whole Wheat Bread—with an old, opened bag of wheat flour. It was no good. The loaves got tossed out. They only smelled slightly off but tasted horrible. Into the compost bin they went. Later that day, I hiked over to the store to buy a fresh bag of whole wheat flour. With this new flour, I moved on and tried a different recipe, The Overnight 40% Whole Wheat Bread. Hot damn this is a delicious bread. Just a bit hearty with a faint nutty taste. Perfect with a solid helping of raspberry jam.
Pre-Ferments
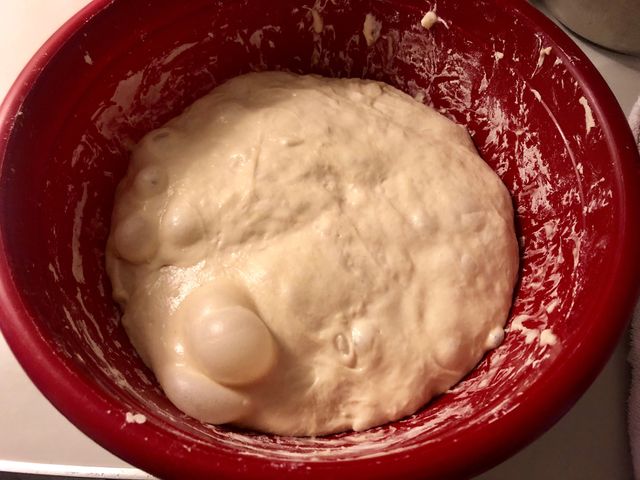
Next came the recipes using the pre-ferments biga and poolish. These pre-ferments are simply a portion of the yeast, flour, and water combined the night beforehand and allowed to ferment for 12 to 14 hours before the final mixing. The biga is the stiffer of the two pre-ferments while the poolish creates a rather light bubbly mixture. The next morning you combine these pre-ferments with the remaining ingredients and proceed normally. The bulk fermentations are shorter thanks to the preferments doing more of the work beforehand, but you still shape, proof, and bake as with the previous recipes.
There were two recipes for each type of pre-ferment with one being all white flour and another switching in a portion of whole wheat (the poolish added in wheat germ and wheat bran too). The poolish seems to create a lighter, buttery flavor and the biga is more earthy in tone. Both are delicious, but we found the poolish so delightful I made it twice.
Sourdough Starter
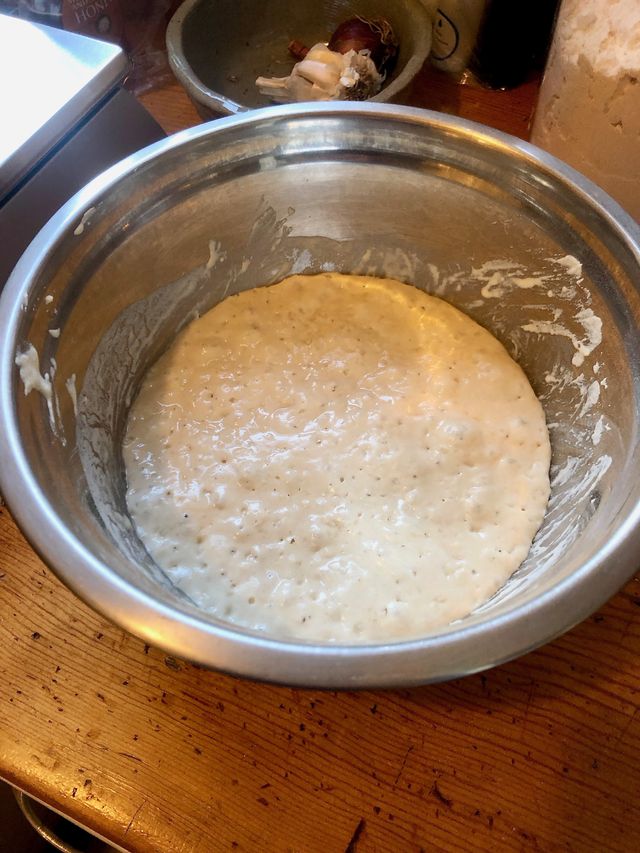
Finally, I reached the sourdough section of the book. First step is to establish your own levain, which is a culture of yeast and bacteria used for all of your future sourdough bread making. According to the book's instructions, it should take about 5 days to create your own starter from only flour and water. After the starter is established, you keep it going with daily feedings of flour and water on a regular schedule. Almost sounds like having a pet, doesn't it?
I had some trepidation about this process, so much in fact that I waited over two weeks to start. Ken firehoses you with information about levains: their history, possible ingredients, culture development, and feeding schedules. It all seemed a bit intimidating and hard to grasp, especially once you start doing additional research online. Did not help that a friend related how he was never unable to get his own sourdough starter started (say that three times fast). Our house is also pretty cool in winter, which is the opposite of a warm, cozy bakery.
Anyhoo. After acquiring a new thermometer, mixing containers, and a functional scale, I started the process and honestly it was not so bad.
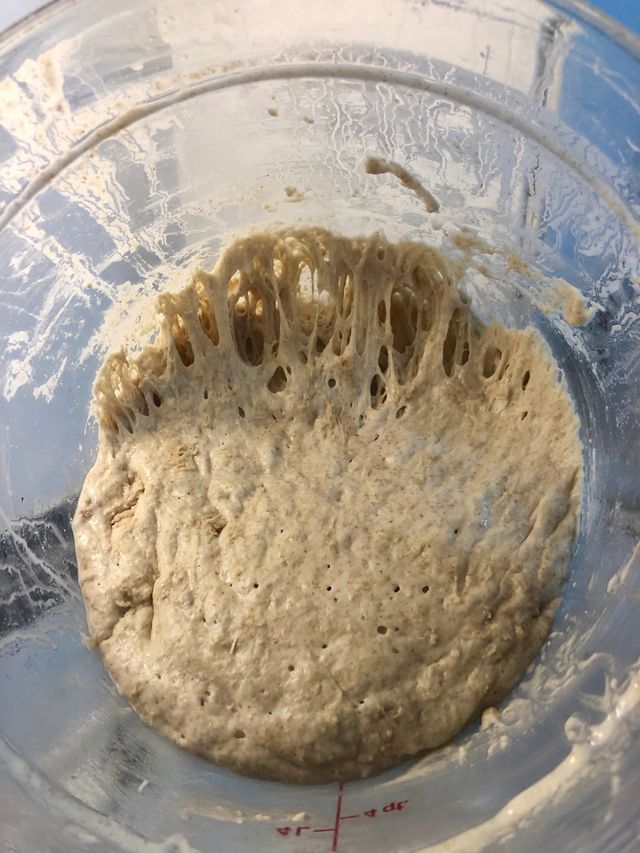
You are essentially combining flour and water in a tub and waiting for the naturally occurring yeast within the flour to multiply and form a thriving colony. Each day you throw away 3/4s of the existing starter and add new flour and water as new fuel. It multiplies, grows, and you feed it again the next day. Repeat for a few days and soon you should have a nice, gassy sourdough starter with a distinct smell. That's it!
The most important trick I learned is to have a dedicated plastic mixing bucket (with lid) for the starter and to keep it in a warm area, which for us is on top of our kitchen's heater vent with a thin towel underneath. This keeps the starter away from direct heat but allows it to be near its ideal temp of 75°-90° Fahrenheit.
Once the culture gets going, you will get a sense of what it prefers as far as flour/water ratios and water temperature. For instance, every morning I keep 50g of my starter, add 100g of white flour, 25g of wheat flour, and 125g of 95° Fahrenheit water. This maintains my starter and keeps it nice and happy for the next 24 hours. It really is a wonder. With those same ratios, I can put the starter in the fridge for 3-5 days without touching it. When I want to restart it, I just pull it out in the morning and refresh it normally. By the next day it is all happy and ready to make bread again.
Sourdough Breads
The sourdough breads have been interesting so far. I have made Pain de campagne, 75% Whole Wheat Levain, Bran-Encrusted Levain, and Walnut Levain. These are all hybrid breads that use a levain starter but also include a bit of baker's yeast in the final mix. Wheat is still the flour of choice.
Each recipe has you refreshing the levain in the morning, doing the mix mid-afternoon, and shaping the bread around 8pm at night. The bread then proofs overnight in the refrigerator and you bake it first thing in the morning. This schedule works out rather well as I can get up the next morning, bake the bread, and then head off to a coffee shop until I return home for lunch, where fresh bread awaits.
As an experiment, I made two loaves of the 75% Whole Wheat Levain and proofed one that night on the counter for an hour and then baked it at 9:30pm. Turned out perfectly lovely, so one does not necessarily have to proof in the fridge with these recipes.
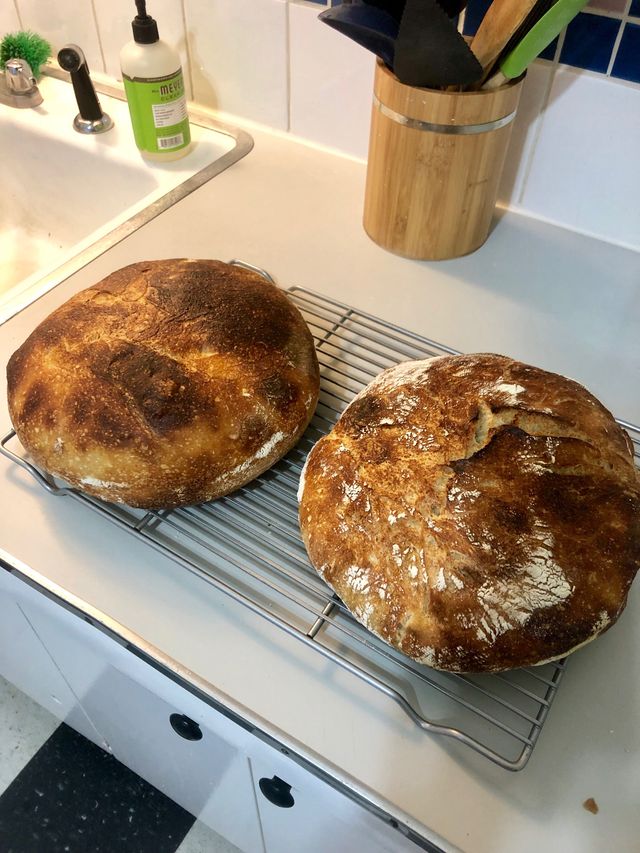
The Walnut Levain is pretty damn fantastic; I see why people rave about it online. The tannins seep out of the roasted walnuts giving it a beautiful color, and the taste when it is toasted and given a nice layer of butter + honey on top is sublime. Seriously, this is the kind of bread people will gossip about.
Oh, by the way, with the levain breads, I do the same thing I do with the sourdough starter and leave it on top of a heating vent with a towel underneath. This ensures it gets the right amount of warmth for the five or so hours of bulk fermentation.
Sourdough Bread with Rye
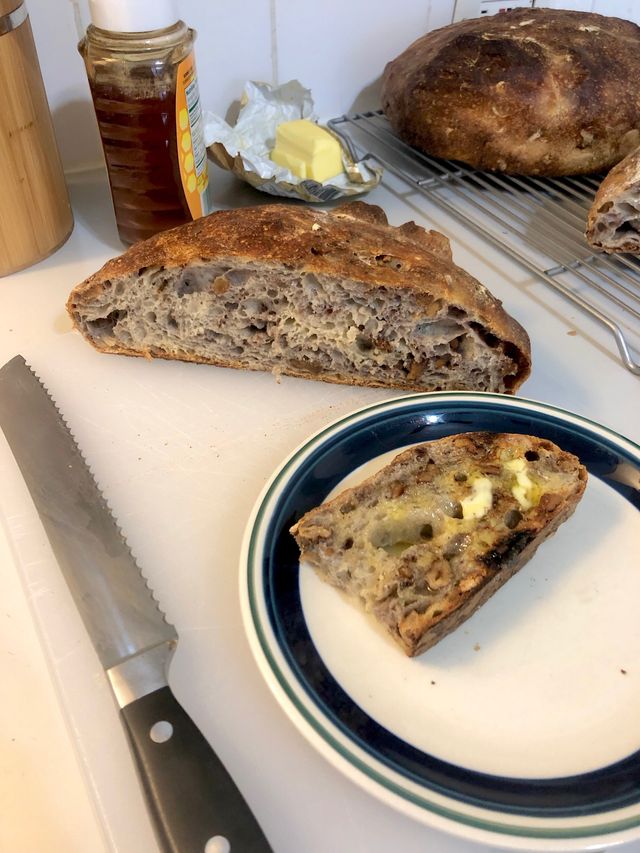
This weekend I tried my first blended bread using a combination of wheat and rye flour. Ken touches briefly on the differences you can expect. The rye flour has less gluten, the dough will be stickier, and you can expect a smaller crumb. All of these turned out to be true. I could not find white rye flour in the store, so I used dark rye flour and kept the percentage at 15%.
I am quite fond of this bread. Many of my wheat breads had fantastically large gas bubbles, which made huge holes in my slices. With pockets that large, honey or jam had a bad habit of dribbling out. The smaller, softer crumb of this bread makes it ideal for sandwiches. I am curious whether putting tomato sauce and cheese on top and then toasting it in the toaster oven will create a nice slice of bread-pizza for lunch.
I consulted with my favorite professional baker about rye and she mentioned that while rye has less gluten, it also has "some very interesting enzymatic chemistry." This led me down a rabbit hole of research yesterday morning about rye, its chemical differences, and a plethora of different types of rye breads.
For instance, some rye bread recipes include ground spices such as fennel, coriander, aniseed, cardamom, or citrus peel. ::strokes chin:: Doesn't that sound delicious?!
Also. There is a Swedish crispbread made primarily of rye called knäckebröd, which brings to mind lembas from Lord of the Rings. Apparently, traditionally a hole is made in the middle so it can be stored on a long wooden poles for months at a time. Cool! Might need to try that one out this year.
<insert inspiring platitude here>
As a funemployed gentleman, this book came at just the right time for me to pick it up and explore bread making. There is an overwhelming amount of knowledge online about it too. You can easily lose an hour watching YouTube videos of people, both professionals and amateurs, explaining how they make their bread. And almost everyone does it differently!
At the end of the day, bread making it is not that hard. People have been making it for thousands of years without scales, thermometers, or the perfect knowledge of the gluten content in their flours. You can definitely screw it up, but most of the time you are going to create a perfectly delicious bread that makes your house smell amazing. Just remember to share it. Oh, and buy the really good butter to smear on top...